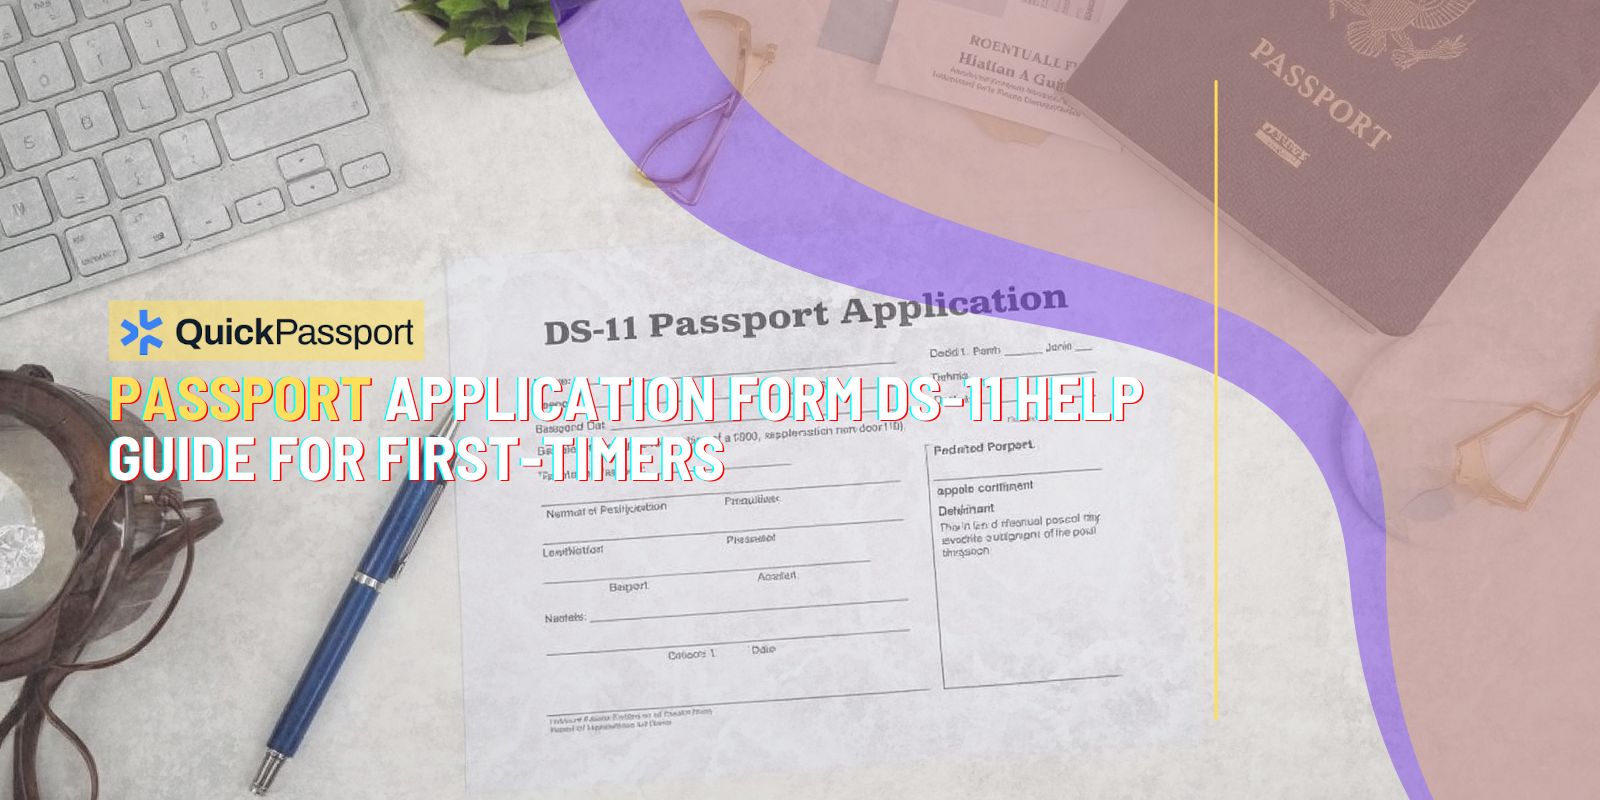
Applying for your first U.S. passport can feel overwhelming, especially when faced with the official DS-11 form and its numerous requirements. This comprehensive passport application form DS-11 help guide is designed to walk first-time applicants through every step of the process, ensuring you complete your application correctly and avoid common pitfalls that could delay your passport approval.
The DS-11 form, officially known as the “Application for a U.S. Passport,” is the primary document required for first-time passport applicants, including children under 16, and adults who have never held a U.S. passport before. Understanding how to properly complete this form is crucial for a successful application process, as even minor errors can result in delays, additional fees, or application rejection.
Many first-time applicants underestimate the complexity of the passport application process. The DS-11 form requires specific information about your identity, citizenship, travel plans, and personal history. Additionally, you’ll need to gather supporting documents, obtain proper photographs, and submit your application at an authorized acceptance facility. This guide will demystify each requirement and provide practical tips to streamline your application experience.
Whether you’re planning an international vacation, business trip, or family visit abroad, having a valid passport is essential for international travel. The application process typically takes 6-8 weeks for routine processing, though expedited services are available for urgent travel needs. By following this detailed guide, you’ll be well-prepared to complete your DS-11 form accurately and submit a complete application package that meets all State Department requirements.
Throughout this guide, we’ll address common concerns first-time applicants face, from understanding citizenship documentation requirements to navigating the application submission process. Our goal is to transform what might seem like a daunting bureaucratic process into a manageable series of clearly defined steps that will result in your first U.S. passport.
Key Takeaways
- Complete Form DS-11 in black ink only – The State Department requires all handwritten information to be completed using black ink. Pencil, blue ink, or other colors are not acceptable and will result in application rejection.
- Gather required citizenship documents before starting – You’ll need either a certified birth certificate issued by the city, county, or state, a consular report of birth abroad, a naturalization certificate, or a certificate of citizenship. Photocopies are not acceptable.
- Obtain proper identification documents – Acceptable ID includes a valid driver’s license, government employee ID, military ID, or naturalization certificate. The ID must be current, undamaged, and include your photograph and signature.
- Schedule passport photos according to strict specifications – Photos must be 2×2 inches, taken within the last six months, show a neutral expression, and meet specific background and lighting requirements. Many applicants underestimate these requirements.
- Calculate total fees accurately – First-time adult applicants pay $130 for the application fee plus $35 for the execution fee, totaling $165. Additional fees apply for expedited processing ($60) and overnight delivery ($18.32).
- Apply in person at an authorized acceptance facility – First-time applicants cannot apply by mail. You must visit a post office, courthouse, library, or other authorized location to submit your application and have your identity verified.
- Allow adequate processing time – Routine processing takes 6-8 weeks from the date your application is received. Expedited processing reduces this to 2-3 weeks but requires additional fees.
- Keep copies of all documents – Make photocopies of your completed DS-11 form and all supporting documents before submission. This protects you if documents are lost and helps track your application status.
Understanding the DS-11 Form Structure and Requirements
The DS-11 passport application form consists of two pages containing essential sections that collect your personal information, citizenship details, and travel documentation needs. Understanding the form’s structure before you begin filling it out will help you gather the necessary information and complete the application efficiently. The form is divided into several key sections, each serving a specific purpose in verifying your eligibility for a U.S. passport.

Section 1 focuses on your personal information, including your full name as it should appear on your passport, date and place of birth, and Social Security number. This section requires careful attention to detail, as the name you provide will be printed exactly as written on your passport. If you’ve legally changed your name through marriage, divorce, or court order, you’ll need to provide documentation supporting the name change. The State Department recommends using your name exactly as it appears on your citizenship documents to avoid complications.
Section 2 addresses your citizenship information and requires you to specify how you acquired U.S. citizenship. Whether you were born in the United States, born abroad to U.S. citizen parents, or naturalized as a citizen, you’ll need to provide specific details about your citizenship status. This section also asks about your parents’ citizenship status and birthplaces, which helps verify your eligibility for a U.S. passport.
The remaining sections cover your physical description, contact information, emergency contacts, and travel plans. While some information like height, eye color, and hair color might seem trivial, these details are used for identification purposes and should be accurate. The emergency contact section is particularly important, as this person can be contacted if you encounter difficulties while traveling abroad. Take time to provide complete and current contact information for someone who will be reachable during your travels.
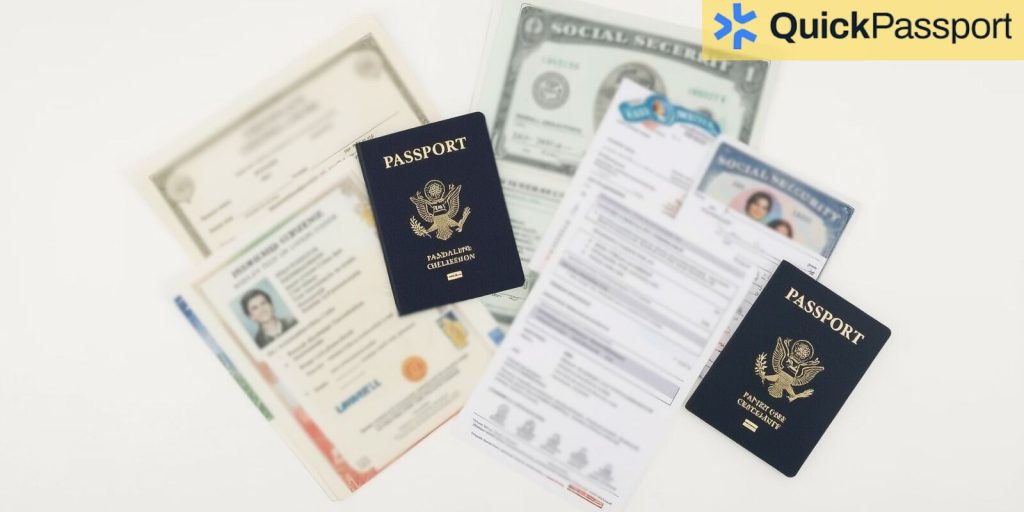
Essential Documents You Must Provide
Gathering the correct supporting documents is one of the most critical aspects of your passport application process. The State Department has strict requirements for document types and conditions, and submitting incorrect or inadequate documentation is one of the leading causes of application delays and rejections. Understanding these requirements before you begin will save you time, money, and frustration throughout the application process.
For citizenship documentation, you must provide an original or certified copy of your birth certificate issued by the city, county, or state where you were born. Hospital-issued birth certificates, baptismal certificates, and delayed birth certificates are generally not acceptable unless they meet specific criteria. If you were born abroad to U.S. citizen parents, you’ll need a Consular Report of Birth Abroad or certification of birth. Naturalized citizens must provide their original naturalization certificate or certificate of citizenship. These documents cannot be photocopied – you must submit original documents, which will be returned to you with your passport.
Identification requirements are equally stringent and require you to present a valid, undamaged ID that includes your photograph and signature. Acceptable forms of identification include a current driver’s license, government employee ID card, military ID, or previously issued U.S. passport. If your ID has expired within the last five years, it may still be acceptable, but it’s best to renew your identification before applying for your passport to avoid potential complications.
If you cannot provide acceptable primary identification, you may use a combination of secondary identification documents. This process is more complex and may include items like a Social Security card, credit cards, library cards, or employee ID badges. However, using secondary identification often requires additional verification steps and may extend your processing time. It’s strongly recommended to obtain primary identification before submitting your passport application.
Document condition is crucial for acceptance. All documents must be legible, undamaged, and clearly show the required information. Water damage, tears, significant wear, or fading can render documents unacceptable. If your documents are damaged, you should obtain new copies before applying. Additionally, all foreign documents must be accompanied by certified English translations, which can add time and expense to your application process.
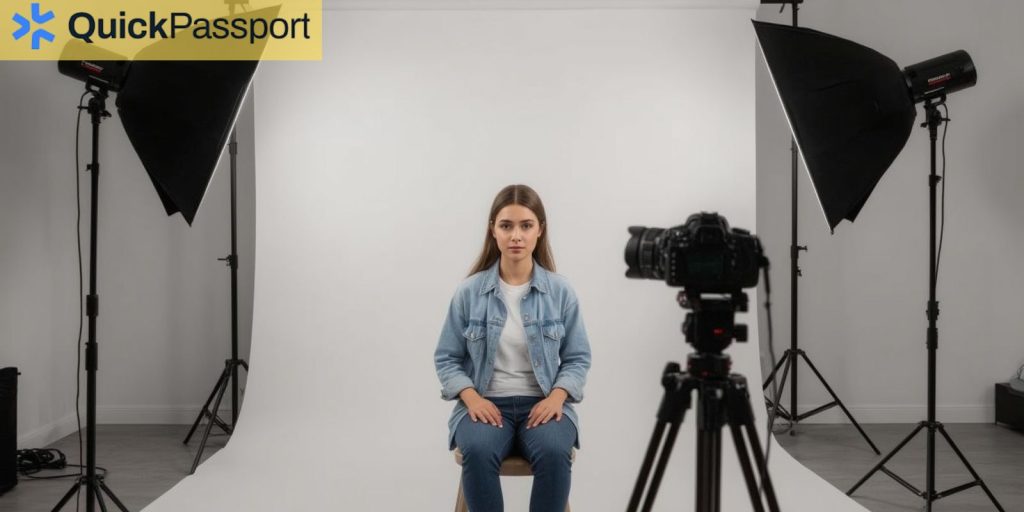
Passport Photo Requirements and Common Mistakes
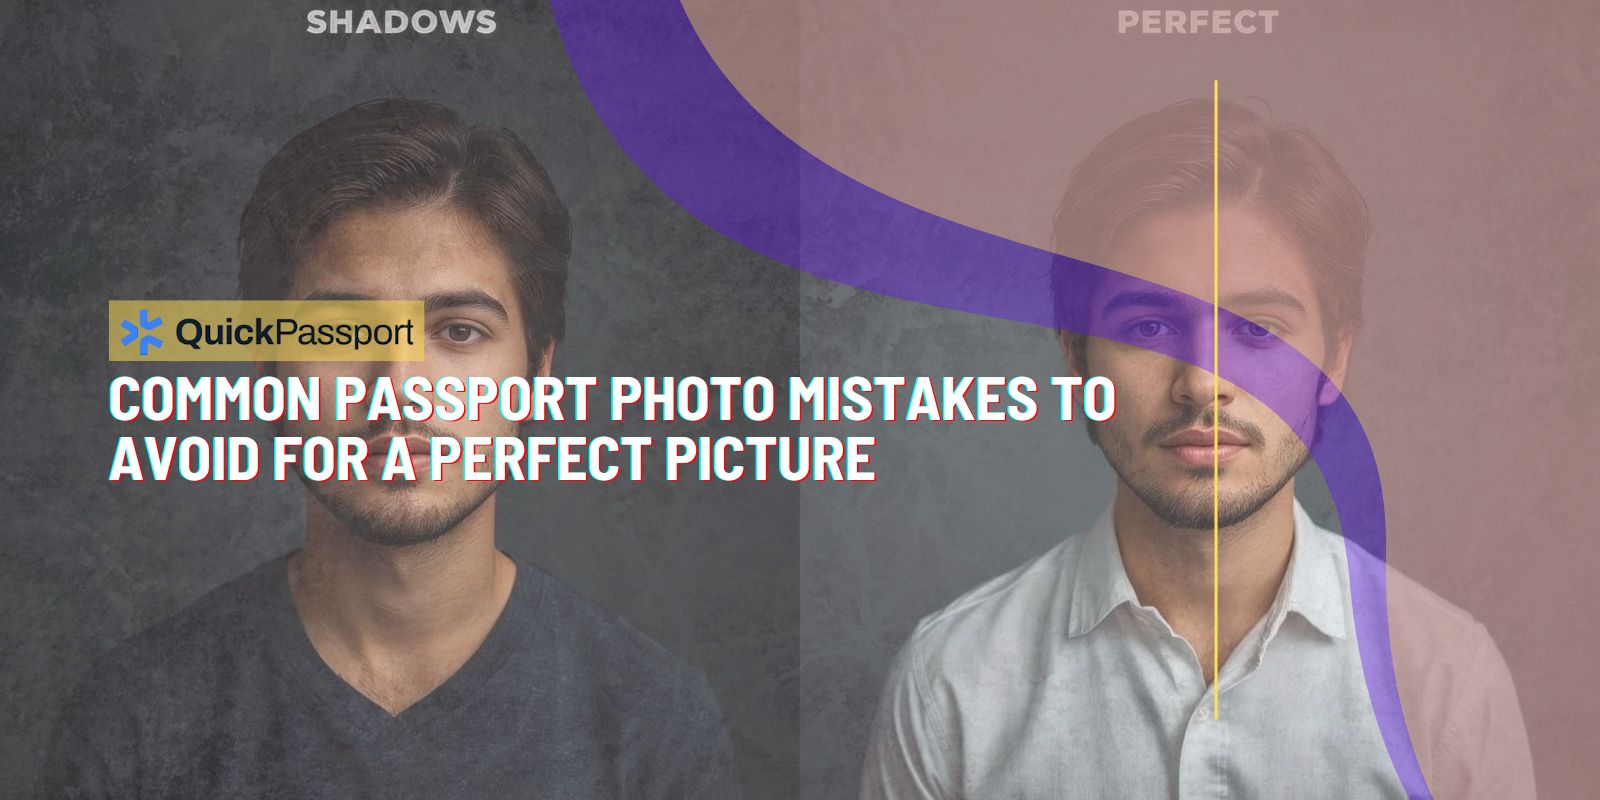
Passport photos represent one of the most frequently problematic aspects of first-time applications, with thousands of applications delayed annually due to photo non-compliance. The State Department maintains strict photo specifications that must be followed exactly, and even minor deviations can result in application rejection. Understanding these requirements and common pitfalls will help ensure your photos meet all necessary standards.
Your passport photo must be a color photograph measuring exactly 2 inches by 2 inches, taken within the last six months to accurately represent your current appearance. The photo must show your full face, front view, with a neutral expression and both eyes open and clearly visible. Smiling is discouraged, as it can distort facial features that are used for identification purposes. Your head should be positioned straight, not tilted, and should measure between 1 inch and 1 3/8 inches from the bottom of your chin to the top of your head.
Background requirements are particularly strict and frequently violated. Your photo must have a plain white or off-white background with no patterns, textures, or shadows visible. Many applicants make the mistake of using photos taken against colored backgrounds, in front of walls with texture, or with visible shadows cast by the subject or photographer. Professional photo services that specialize in passport photos are generally your best option for ensuring compliance with these requirements.
Clothing and accessories guidelines can also trip up first-time applicants. You should wear normal, everyday clothing, avoiding uniforms, camouflage, or clothing that blends with the background. Head coverings are only permitted for religious purposes, and even then, your face must be fully visible from the bottom of your chin to the top of your forehead. Glasses are generally not recommended, as they can create glare or shadows, though they may be acceptable if worn daily for medical reasons and don’t obscure your eyes.
Technical photo quality is equally important and often overlooked. Your photo must be printed on photo-quality paper using a high-resolution printer or professional photo service. Home printers, even high-quality ones, often don’t meet the resolution and color accuracy requirements. The photo should be sharp and in focus, with natural skin tones and appropriate lighting that doesn’t create harsh shadows or overexposed areas. Many drugstores, post offices, and professional photographers offer passport photo services that guarantee compliance with State Department requirements.
Completing the Form: Section-by-Section Guidance
Successfully completing your DS-11 form requires attention to detail and understanding of what information is required in each section. Many first-time applicants rush through the form without fully understanding the implications of their responses, leading to errors that can delay processing or require resubmission. This section-by-section approach will help you complete your form accurately and avoid common mistakes that plague first-time applicants.
When completing the name section, use your full legal name exactly as it appears on your citizenship documents. This includes any middle names, suffixes, or prefixes that are part of your legal name. If you’ve never used a middle name or it doesn’t appear on your birth certificate, don’t add one to your passport application. Conversely, if your legal documents include a middle name, you must include it on your passport application. Any discrepancies between your citizenship documents and passport application can trigger additional review and delay processing.
The date and place of birth section requires specific formatting and complete information. Write dates in MM/DD/YYYY format and include the complete city and state or country where you were born. If you were born in a hospital, use the city where the hospital is located, not the hospital name. For foreign births, include the city and country, using the country name that was in effect at the time of your birth. If country names have changed due to political reorganization, this can affect your application processing.
Social Security number entry is mandatory for U.S. citizens, and providing an incorrect number can significantly delay your application. Double-check your Social Security number against your Social Security card or other official documents. If you don’t have a Social Security number, you must provide a signed statement explaining why you haven’t been issued one. This situation is rare and typically applies only to specific religious groups or individuals who have never worked in the United States.
The travel plans section asks about your intended departure date and destination countries. While you don’t need confirmed travel plans to apply for a passport, providing realistic travel dates helps determine if you need expedited processing. If you’re applying for a passport without immediate travel plans, you can indicate “unknown” for departure dates and destinations. However, if you have firm travel plans within the next few weeks, you should consider expedited processing to ensure you receive your passport in time.
Application Fees and Payment Methods
Understanding passport application fees and acceptable payment methods is crucial for first-time applicants, as incorrect payments can delay processing or result in application rejection. The fee structure for passport applications includes multiple components, and the total amount depends on your age, processing speed preferences, and delivery options. Familiarizing yourself with these costs helps you budget appropriately and avoid surprises during the application process.
For first-time adult applicants (age 16 and older), the standard fees include a $130 application fee and a $35 execution fee, totaling $165 for routine processing. The application fee covers the cost of processing your passport application and producing your passport book. The execution fee is paid to the acceptance facility where you submit your application and covers the cost of verifying your identity and witnessing your signature. These fees are separate and often require different payment methods.
Expedited processing is available for an additional $60 fee, reducing processing time from 6-8 weeks to 2-3 weeks. This service is valuable if you have confirmed travel plans or need your passport quickly for other purposes. The expedited fee is paid in addition to the standard application and execution fees, bringing your total to $225. You can also request expedited return shipping for an additional $18.32, which ensures your passport is returned via overnight delivery rather than regular mail.
Payment methods vary depending on where you submit your application and which fees you’re paying. Most acceptance facilities accept cash, checks, or money orders for the execution fee, but credit cards may not be accepted at all locations. The application fee and any expedited processing fees are typically paid by check or money order made payable to the “U.S. Department of State.” Personal checks are generally acceptable, but some facilities may prefer money orders or cashier’s checks for faster processing.
If you’re applying at a QuickPassport – Denver location, they can provide specific guidance on acceptable payment methods and help ensure your payment is processed correctly. Professional passport services often offer additional payment options and can help streamline the fee payment process, reducing the likelihood of payment-related delays. Always bring multiple payment options to your appointment, as requirements can vary between acceptance facilities.
Frequently Asked Questions
How long does it take to process a first-time passport application?
Routine processing for first-time passport applications takes 6-8 weeks from the date the State Department receives your application. Expedited processing reduces this time to 2-3 weeks for an additional $60 fee. Processing times can be longer during peak travel seasons (spring and summer) or due to unexpected delays.
Can I apply for a passport if I have outstanding child support obligations?
If you owe more than $2,500 in child support, the State Department may deny your passport application. You’ll need to resolve your child support obligations or obtain clearance from the appropriate child support enforcement agency before your passport can be issued.
What happens if I make a mistake on my DS-11 form?
Minor errors can sometimes be corrected at the acceptance facility, but significant mistakes may require you to complete a new form. It’s best to complete the form carefully and review it thoroughly before your appointment. Bring a blank form to your appointment in case corrections are needed.
Do I need to make an appointment to submit my passport application?
Appointment requirements vary by acceptance facility. Many post offices and clerks of court accept walk-ins during business hours, while others require appointments. Call ahead or check online to determine the specific requirements for your chosen location.
Can someone else submit my passport application for me?
No, first-time passport applicants must appear in person to submit their DS-11 application. This requirement allows the acceptance agent to verify your identity and witness your signature. Only renewal applications (DS-82) can be submitted by mail.
What should I do if my supporting documents are damaged or illegible?
You’ll need to obtain new copies of damaged documents before submitting your application. Contact the issuing agency (vital records office, USCIS, etc.) to request replacement documents. Damaged documents will likely result in application rejection.
How can I track my passport application status?
You can check your application status online at the State Department’s website using your last name, date of birth, and the last four digits of your Social Security number. Status updates typically appear 7-10 days after your application is received.
What’s the difference between a passport book and passport card?
A passport book is required for all international air travel and most international travel purposes. A passport card can only be used for land and sea travel between the United States, Canada, Mexico, the Caribbean, and Bermuda. Most first-time applicants should choose the passport book for maximum flexibility.
Conclusion
Successfully completing your first passport application using Form DS-11 requires careful preparation, attention to detail, and understanding of the State Department’s requirements. This comprehensive guide has walked you through each essential step, from gathering required documents to understanding fee structures and submission procedures. By following these guidelines, you’ll be well-prepared to submit a complete and accurate application that meets all requirements.
Remember that the passport application process is designed to verify your identity and citizenship, which requires strict adherence to documentation and procedural requirements. Take time to gather all necessary documents, complete your DS-11 form carefully, and obtain compliant passport photos before your appointment. These preparatory steps will significantly increase your chances of a smooth application process and timely passport issuance.
If you’re in the Denver area and need assistance with your passport application,QuickPassport – Denver offers professional services to help first-time applicants navigate the process successfully. Their experienced staff can review your documents, help complete your DS-11 form, and ensure your application meets all State Department requirements before submission.
Your first passport opens doors to international travel and serves as one of the most important identity documents you’ll ever possess. The time and effort invested in completing your DS-11 application correctly will pay dividends in hassle-free international travel for years to come. Start your application process early, be thorough in your preparation, and don’t hesitate to seek professional assistance if you have questions or concerns about any aspect of the application process.